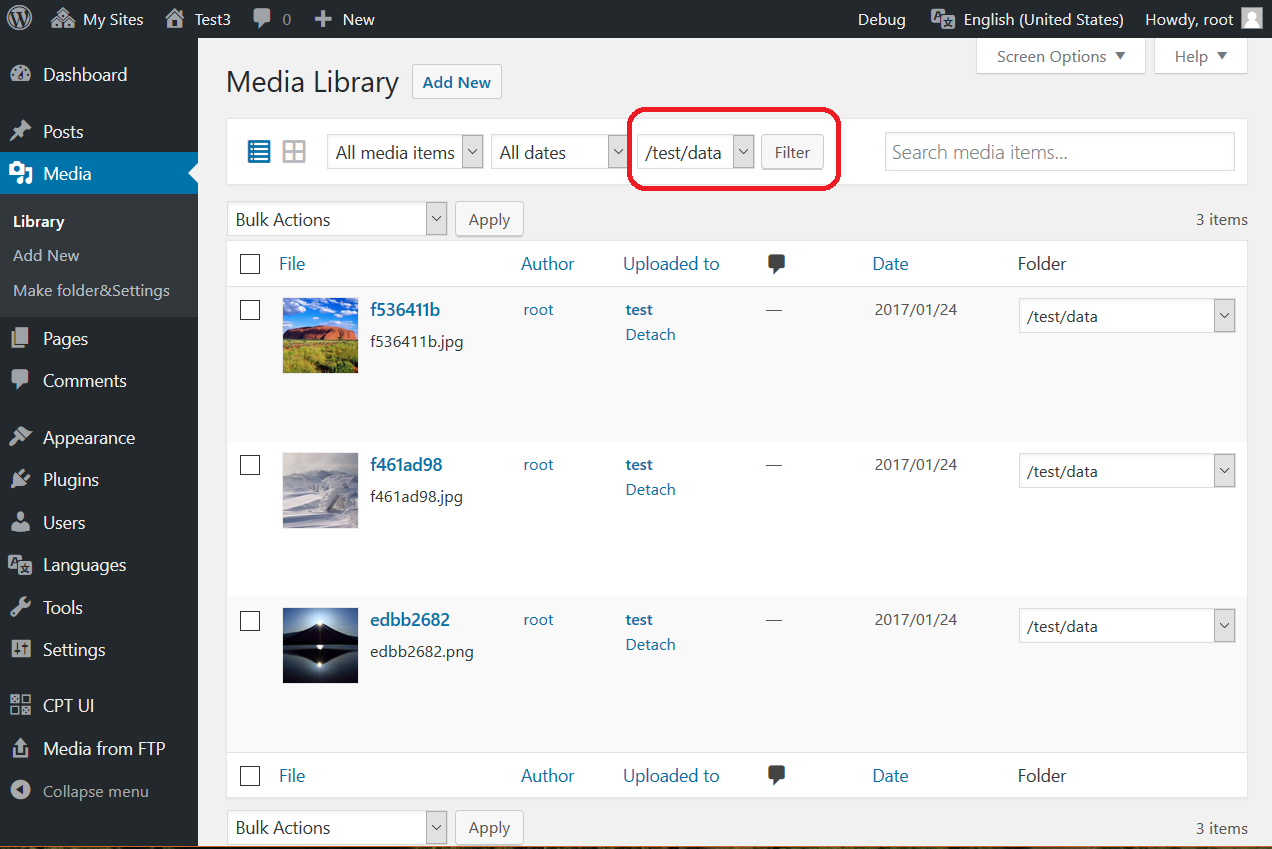
When you upload an image to your Media Library, WordPress makes several copies of it. Additionally, different themes and plugins may also request a variety of image sizes. Consequently, your Media Library can amass a lot of files that you may not be aware of.
Ultimately, this can bog down your entire website, as all those images take up space on your web server. Another problem that can arise from a cluttered Media Library is oversized website backups. If you have an automatic backup process configured, your backup files can become large and unwieldy.
Depending on your web hosting plan, all those extra files could eventually cost you more each month, in addition to creating an overall slowdown. Still, it’s important to make at least one copy of your current website before tackling a Media Library cleanout. This is because most cleanout processes mean you’ll be deleting certain files for good.
Reduce The Amount of Used Storage
The amount of storage space available to you will depend on your host. These limitations are put in place for good reason, as too much media uploaded to your website will eventually decrease its functionality.
For example, the more files that are uploaded to a website, the longer it will take to load. This can slow down site speeds, and may drive visitors away. It can also interfere with the site’s User Experience (UX).
Resize Images
There are many factors that contribute to media space usage – one of the most important being image size. By uploading smaller images to your Media Library instead of just downsizing larger images with HTML, you can increase the space available on your server. This should contribute to improved site speeds, both on the front and back ends.
Image scaling is also a great way of resizing your images without losing out on quality. In short, it enables you to use the minimum number of pixels to display your image, which directly correlates with a reduction in file size.
What’s more, how you treat images on your website can have a crucial impact on your website’s Search Engine Optimization (SEO). To learn more, check out our in-depth resource on image optimization and SEO.
Use JPG Images Instead of PNG
Another factor that impacts media space usage is the image file types you use. The two most common are JPG and PNG, but the former is best when it comes to saving space.
When comparing JPG and PNG images side by side, you’ll notice a slight difference in quality. PNGs are often of higher quality, but this isn’t a dealbreaker for the majority of website images. The only time you really need to use PNGs is when you require a transparent image background.
When you use JPG instead of PNG, your images will naturally be of a smaller size. Of course, you can compress (or scale them) further if necessary.
Delete Image from Media Library

How to clean up your WordPress media ?

There is a plugins named “Media Cleaner” which can clean your Media Library from the media entries (and files) which aren’t used in your website, as well as broken entries. An internal trash allows you to make sure everything works properly before deleting the media entries (and files) permanently. It uses a smart analysis powered by many implementations for specific plugins and themes.
Before using this plugin, make sure you have a proper backup of your install. This step is not optional; it is required. You cannot trust any tools modifying or deleting your files.
DASHBOARD
The files detected as not used will be listed in a specific dashboard. It will be up to you to delete them. Then, they will be moved to a trash internal to the plugin. After more testing, you can retrieve those files from the trash, or you can delete them permanently.
COMPATIBILITY
It works with any kind of media entries, including their retina and/or WebP versions. It is tested on modern WordPress installs (Gutenberg included) as well as older ones, with various themes and by a community of thousands of users. It does support WooCommerce. As it requires meticulous a lot of work and testing, the Pro version might be required if you are using complex plugins to handle the content of your website. I am constantly increasing the compatibility.
PRO VERSION
The Pro version adds Filesystem Analysis, extra support for complex plugins, Live Site option and WP-CLI support.
With the Filesystem Analysis, Media Cleaner Pro scans your physical /uploads directory, and match it against the Media Library. It also has extra support for complex plugins, such as:
- ACF (+ ACF Widgets)
- Divi Builder
- Fusion Builder (Avada)
- WPBakery Page Builder
- Visual Composer
- Elementor
- Beaver Builder
- Brizy Builder
- Oxygen Builder
- Slider Revolution
- Avia Framework
- And more (Theme X, ZipList Recipe, WP Residence, WCFM MarketPlace, UberMenu…)
The Live Site option will analyze the online version of your website, which might enhance the accuracy of the Cleaner in edge-cases.
Last but not least, Media Cleaner Pro has support for WP-CLI. If you have direct access (SSH) to your server, you will be able to run the plugin at a much higher speed or have it ran automatically, if you like.
AGAIN, BE CAREFUL
Better to be safe than sorry. This plugin deletes files! Therefore, backup is not only important, it is necessary. Don’t use this plugin if you are not ready. I can’t help you if you damaged your install.
